Currently I’m doing a lot of testing at home on Network Virtualization solutions, like VMware NSX, Juniper Contrail, etc. Therefore I was stressing my current single home server quite a lot. Which is a custom build Xeon E3-1230 quad core with 32GB of RAM and 128GB SSD. I built this server according to the specifications found at: http://packetpushers.net/vmware-vcdx-lab-the-hardware/ . This has been a great investment as I’m running nested virtualization for both KVM and ESXi hypervisors and run the testing in there. Due to the fact that for a decent Network Virtualization (NV) set-up you need quite some memory, especially if you look at the memory utilisation of the NV Controller VMs, I had to expand my lab. I chose to extend it with an additional server so I would be physically redundant as well, making it easier to run upgrades on the physical machines.
Requirements
My requirements aren’t difficult as I mainly perform feature testing in my lab I don’t need a lot of CPU performance. There are no “Production” VMs running, everything is there to play around, so downtime is not a problem if necessary.
Other requirements:
- Average CPU performance
- Nested virtualization support
- At least 32GB of RAM, preferably (or upgradable to) 64GB
- 4 or more SATA3 connections (to grow to a VSA set-up)
- 2 or more 1Gbps Ethernet NICs
- Out of band management (IPMI)
- Low power
- Small footprint
- Low noise
Especially the last 2 requirements are important to me. I run the lab on a shelf in a large closet, so I barely want to hear fans and I want to keep the footprint small to make sure I can expand the lab further, without having to sacrifice another shelf.
Bill of materials
The bill of materials was as follows. I will explain the reasoning behind each component in detail. You can click the SKU to purchase this item on Amazon.
| Description | SKU |
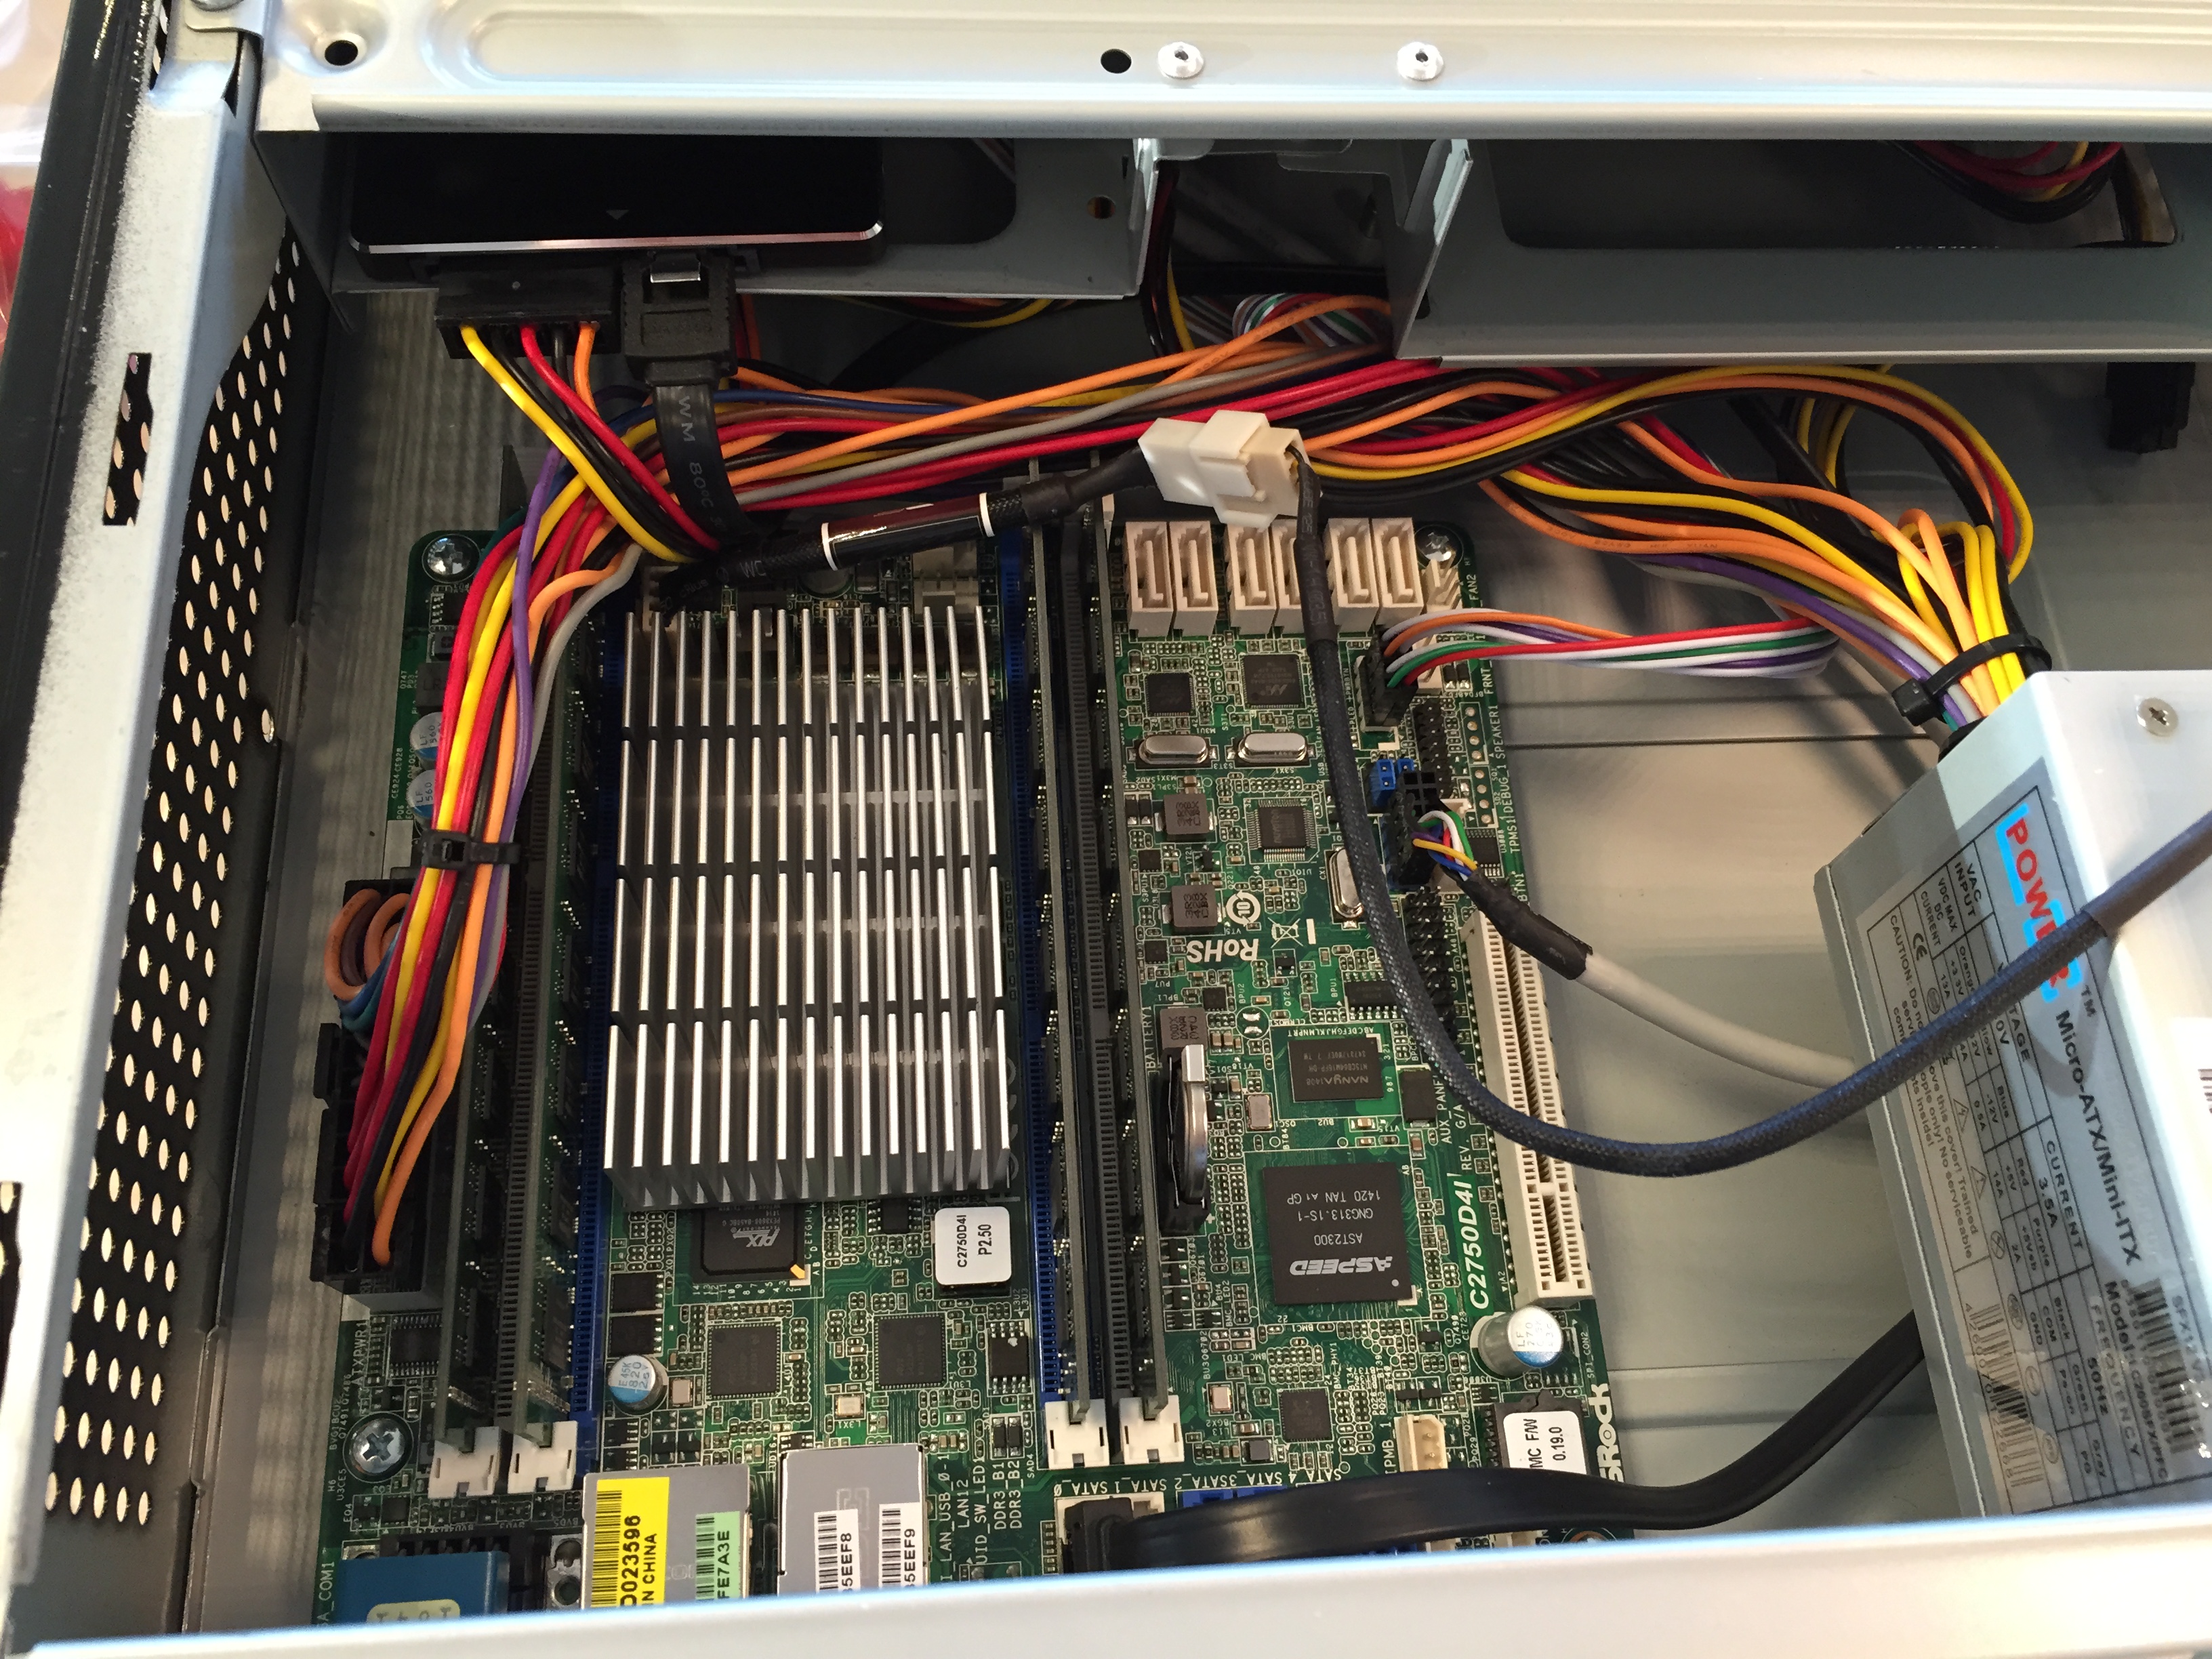
| Motherboard | ASRock C2750D4I |
| Memory (4x) | Kingston DDR3 1600Mhz 8GB non-ECC KVR16N11H/8 |
| Storage | Samsung 850 Pro SSD (128GB) MZ-7KE128BW |
| Case | LC Power LC-1410mi |
| Fan | Noctua NF-R8 PWM |
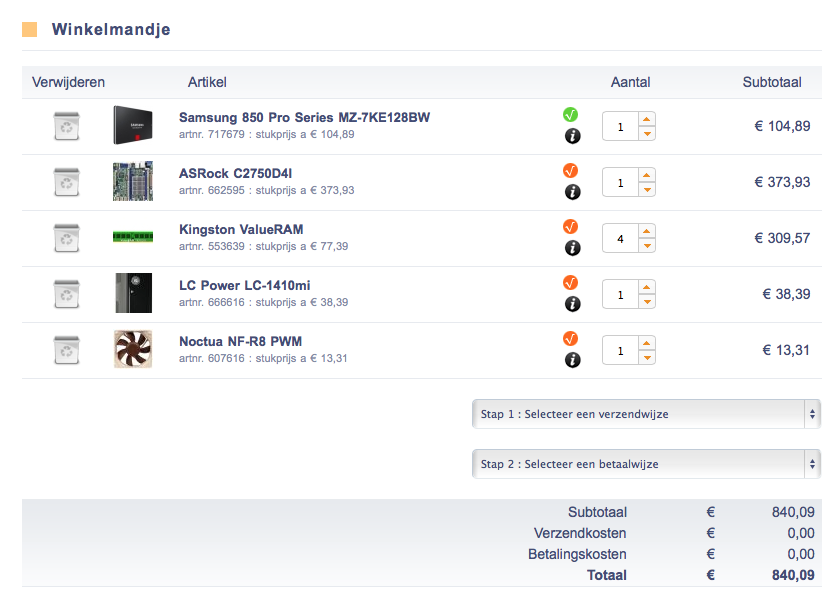
I ordered this bill of materials at the Dutch webshop Azerty.nl, take a look at the screenshot below to find the exact part numbers.
Processor
I was looking at various options for a good home lab CPU. I first looked at an Apple Mac Mini, it’s a powerful processor, low power and footprint, but the 16GB limit of the system was no option for me. The same goes for the Intel NUC boards. I continued the search for a decent multi-core mini-ITX motherboard that could hold a lot of memory. Going for a Xeon was the only option to give me the option over 32GB. Until I found the Intel Atom Avoton chip. This next generation of Intel Atom processors is a very interesting one for home lab servers. You will also find that the latest generation of Synology NAS systems also runs on this same processor. This chip features a 4-core or 8-core processor which, when looking at single core benchmarks, is not the fastest ever, but the multi-core performance definitely makes up a lot! Especially in highly virtualised environments the multi-core architecture is used very well. I looked at various benchmark tests (http://www.servethehome.com/Server-detail/intel-atom-c2750-8-core-avoton-rangeley-benchmarks-fast-power/) and found that this CPU would give me more than enough CPU performance for the tests that I’m running in my home lab while still be very quiet and low power. The performance averages to about half of the performance that my existing set-up with Xeon E3-1200 V3 would give me.
Then feature wise this CPU gives you everything you want for a virtualization lab, which is:
- 64-bit CPU
- Supports VT
- Supportes nested virtualization
The next best thing was that the CPU only comes soldered to the motherboard and can be passively cooled! Which brings us to the next topic regarding the motherboard.
Motherboard
There are 2 good options for a mini-ITX motherboard that features the Intel Avoton C2750. I only looked at the 8-core model, which is quite a bit more expensive, but will give you double the CPU power (especially in VM environments). There is also a C2758 model available, which does not feature TurboBoost. Which I thought would be beneficial in my lab as I need as much performance as I can. The C2758 features QuickAssist which is used for integrating accelerators as used on embedded systems (like a NAS).
I narrowed my choice down to 2 mini-ITX motherboards I found that also feature all my other requirements for networking and out of band management.
Supermicro A1SAi-2750F (http://www.supermicro.co.uk/products/motherboard/Atom/X10/A1SAi-2750F.cfm)
+ This board features a passively cooled C2750 (some have a fan on board
+ 4x 1GE LAN on-board
– Uses SO-DIMM modules (notebook memory)
– Marvell NIC, requiring an additional driver in ESXi
I’m usually a fan of Supermicro as all my previous home servers had a Supermicro motherboard. Their support for ESXi is excellent and they have a decent price. The big downside of this board is the use of SO-DIMM modules, which are more expensive than the regular DDR3 DIMM’s.
ASRock C2750D4I (http://www.asrockrack.com/general/productdetail.asp?Model=C2750D4I)
+ Passively cooled C2750
+ Regular DDR3 DIMMs
+ A ton of SATA ports to have the option to build a storage heavy server in the future
+ Intel NICs that have their driver built-in to ESXi 5.5 update 2
– Only 2x 1GE LAN on-board
I chose the ASRock based on the many benefits this board has over the Supermicro. It was cheaper, supported cheaper DIMMs and didn’t require an additional driver installed in ESXi 5.5 update 2, making upgrades easier. The many SATA ports on the system make it an excellent board to grow to a VSA appliance in the future when required.
NOTE! Even though the CPU is passively cooled, the board requires you to connect a fan to CPU_FAN1 otherwise the board will not power up.

Memory
I first tried to find 16GB DIMMs that were affordable. Unfortunately a single 16GB DIMM is currently the cost of 4x8GB DIMMs. My choice was therefore brought back to getting 4x 8GB DIMMs to get a total of 32GB memory in my next server.
I cannot stress enough that you should purchase from the Memory QVL that your motherboard supplier publishes. Any other DIMM may work, may work unstable or may not work at all. Fortunately a couple of Kingston’s affordable line of memory was tested by ASRock, so I didn’t look further and got those. The server is rock solid on these Kingston DIMMs already running for weeks.
Current Memory QVL for the ASRock C2750D4I
http://www.asrockrack.com/general/productdetail.asp?Model=C2750D4I#Memory%20QVL
I omitted the 4GB DIMMs from the table below as I need at least 32GB of RAM in the server.
| Type | Speed | DIMM | Size | Vender | Module |
| DDR3 | 1600 | non-ECC | 8GB | ADATA | AD3U1600C8G11-B |
| DDR3 | 1600 | ECC | 8GB | Apacer | 78.C1GER.AT30C |
| DDR3 | 1600 | ECC | 8GB | Crucial | CT102472BD160B.18FED |
| DDR3 | 1600 | ECC | 8GB | innodisk | M3C0-8GSS3LPC |
| DDR3 | 1600 | non-ECC | 8GB | Kingston | KVR16N11H/8 |
| DDR3 | 1333 | ECC | 16GB | Memphis | IMM2G72D3DUD8AG-B15E |
| DDR3 | 1333 | non-ECC | 16GB | Memphis | IMM2G64D3DUD8AG-B15E |
| DDR3 | 1333 | ECC | 16GB | Memphis | IMM2G72D3LDUD8AG-B15E |
If you would like to purchase the 16GB DIMMs mentioned on this Memory QVL please contact ASRock Sales ([email protected]) for a quote. They sell and ship these Memphis DIMMs worldwide.
Storage
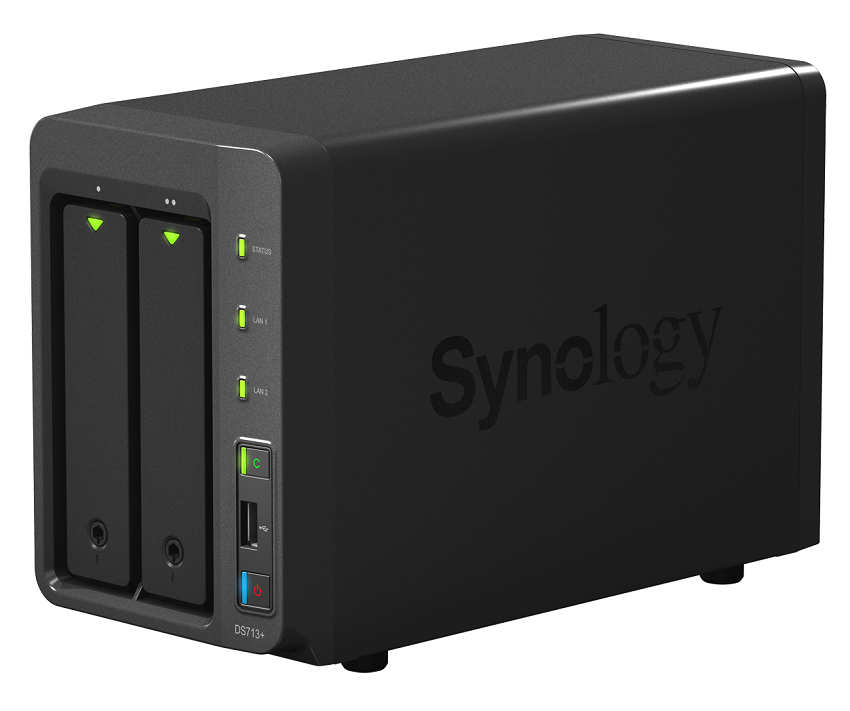
I’m currently happily using a Synology DS713+ 2-bay NAS with 2 Western Digital RED 3TB disks for over a year. It is my primary source of shared storage for everything. Including all of the VMs. Therefore I don’t need a ton of storage in my server. I may want to play around with VMware VSAN or other VSA options, but for now I’ll keep everything stored on NFS shares on my Synology DS713+. The disks in the NAS are mirrored, meaning I only get IOPS from a single disk. While running 20-30 VM’s on this NAS, I notice that performance is going down. Therefore I chose to use a small 128GB SSD in both of my servers and use VMware Flash Read Cache. This technology lives inside ESXi will cache all the Disk Reads performed in a VM (when enabled for Flash Read Cache) and will also use the SSD as SWAP file instead of a file located in the folder where the VM is stored. This enhances performance a lot in my lab as my VMs are not storage heavy and usually consist of system files of the OS and some database files. When they are first read from the disk they are stored in my server’s SSD and especially Windows and Linux VMs benefit a lot from this!
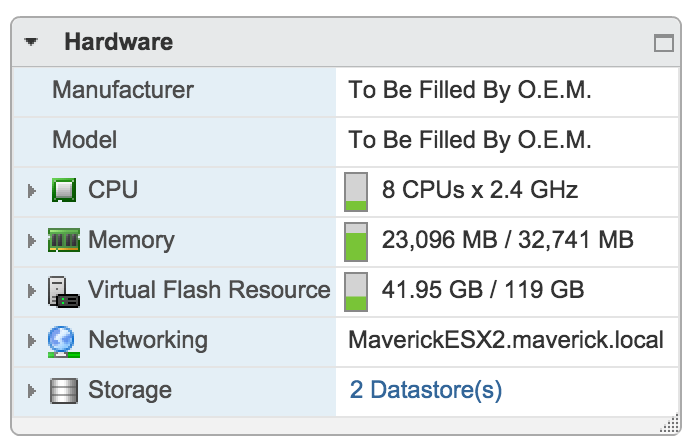
In the screenshots below you can see my current usage of the Flash Read Cache.
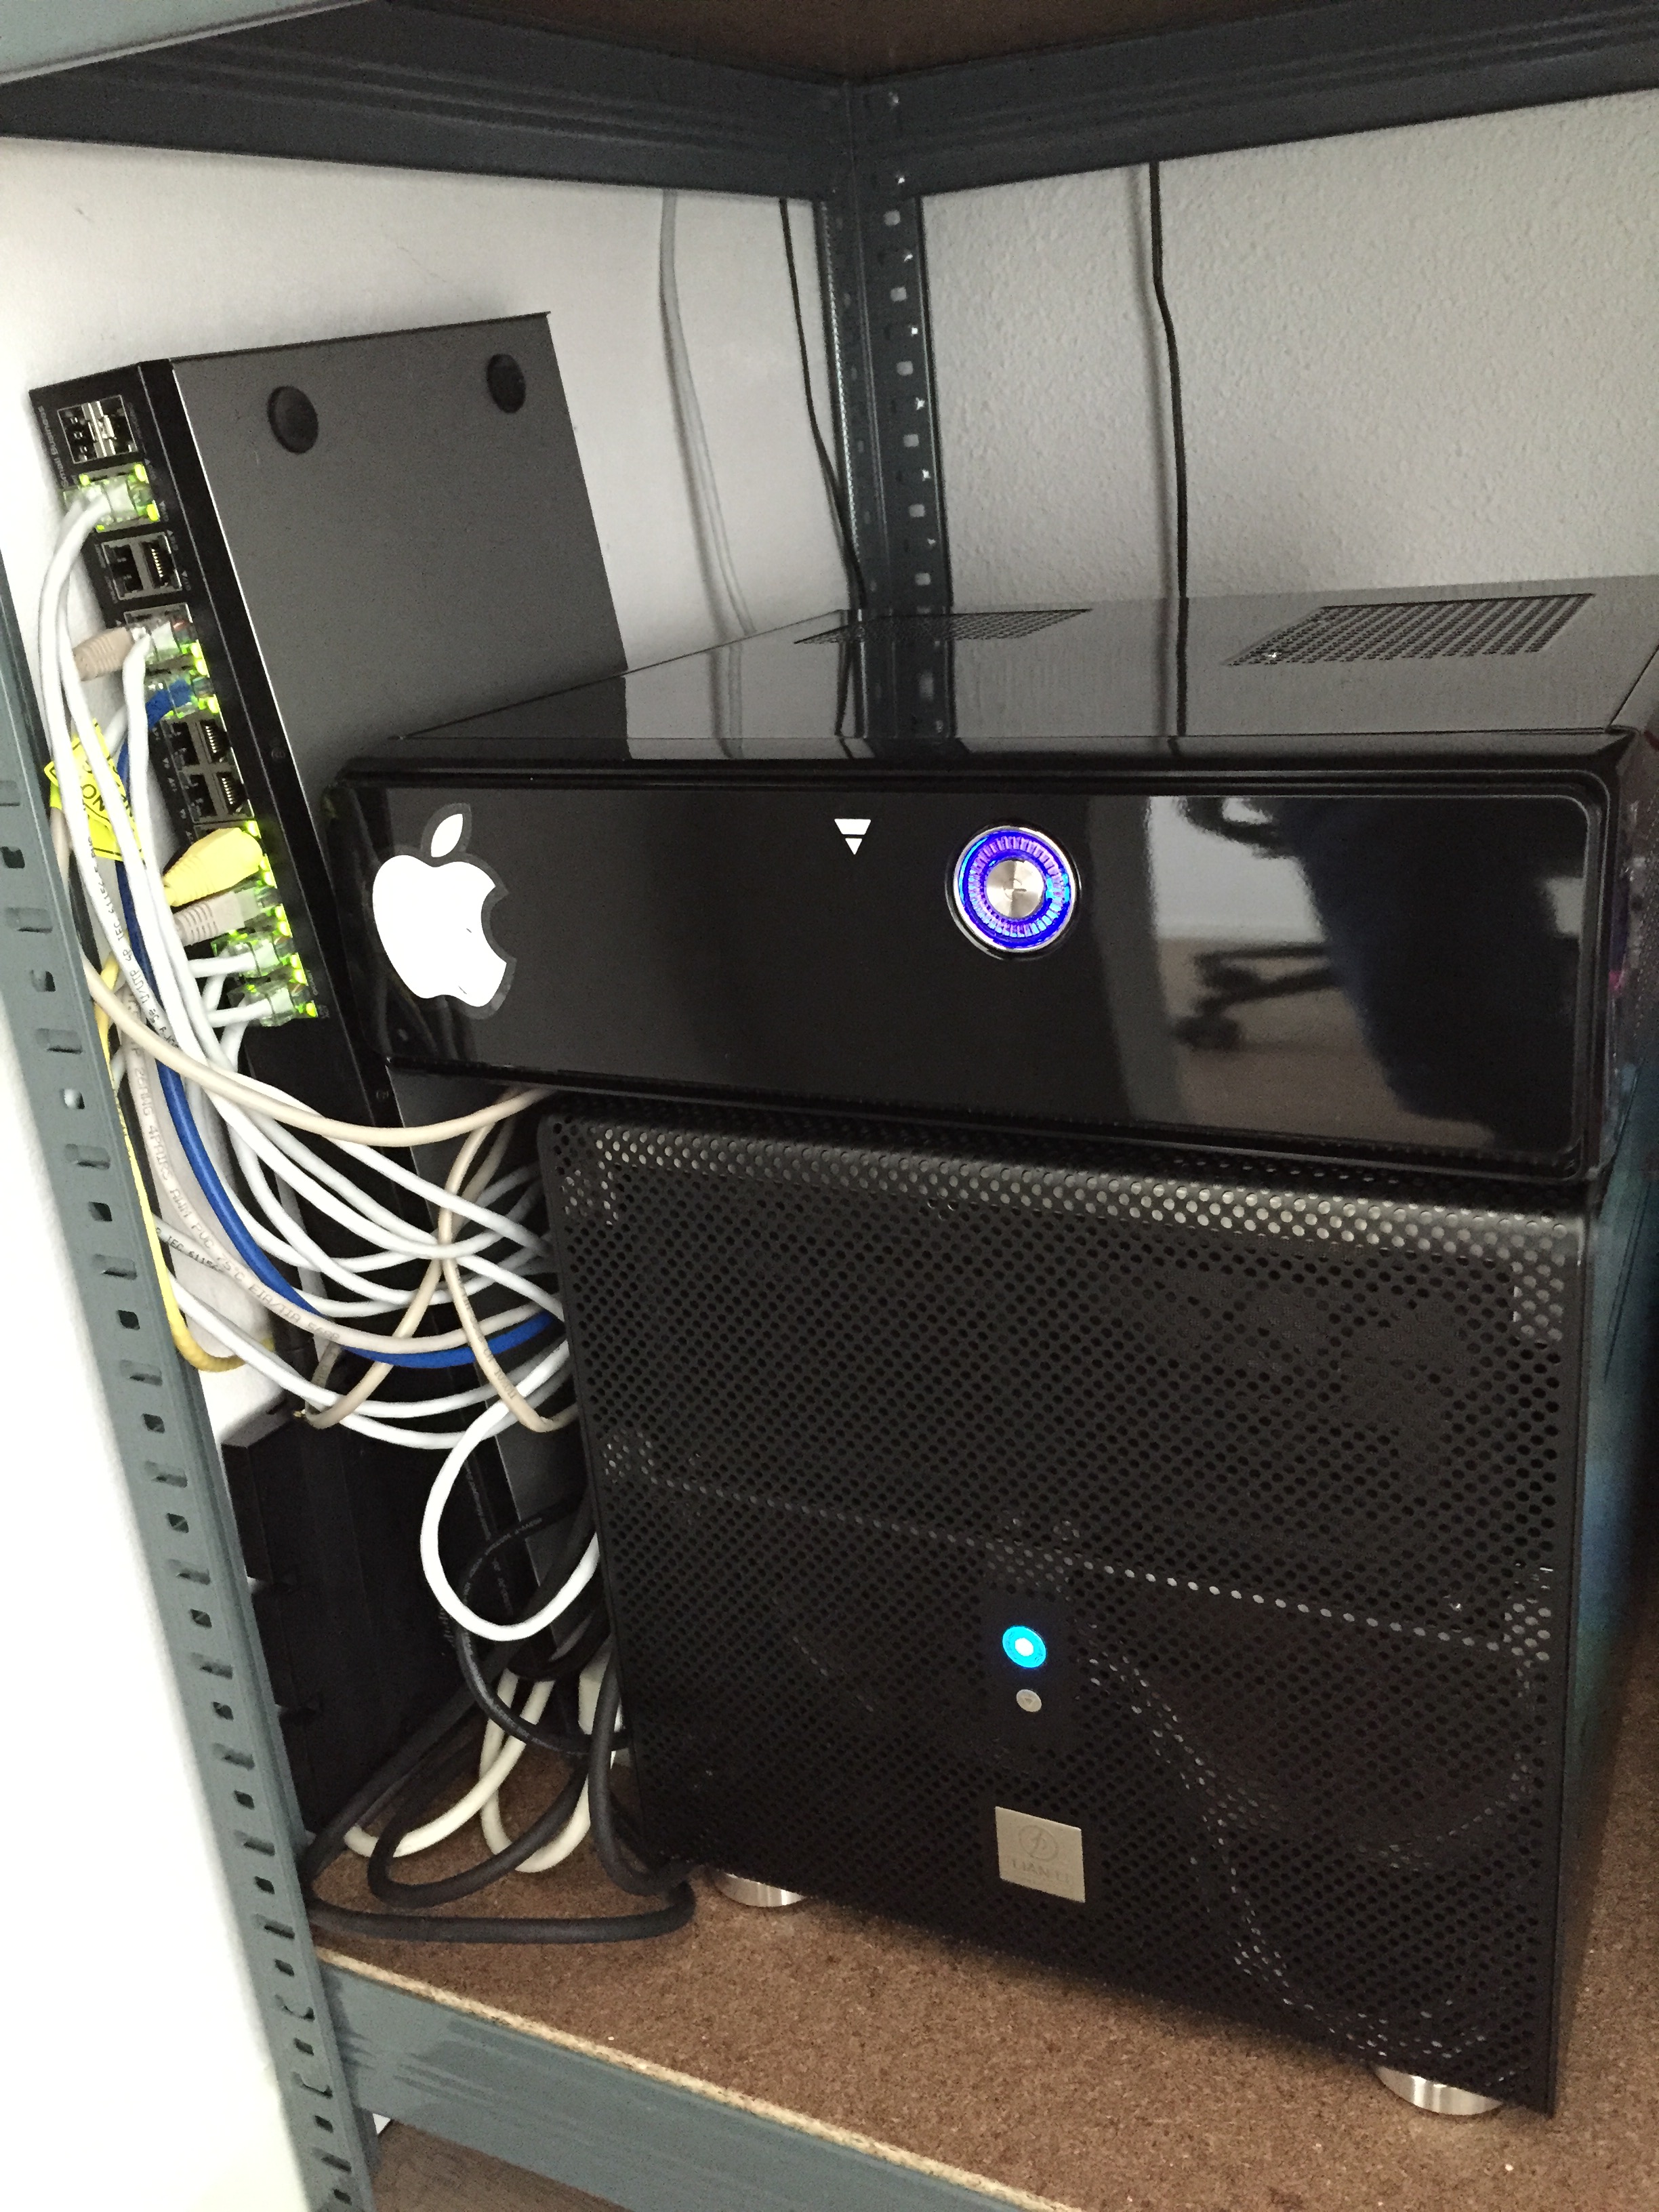
Case and cooling
The case I chose is not a very exciting one. It’s much bigger than required for a mini-ITX board, but I wanted a low profile case that would fit on top of my existing server and had a decent power supply built in (for cost savings). The case I chose ended up being a great one, as it features a fan that sucks air in to the chassis through the power supply.
As mentioned before the CPU is passively cooled, but as it’s being heavily used in ESXi running 10 or so VMs at any time. I needed additional cooling. In my existing server I’m using Noctua fans as they are amazingly quiet and perform very well! I chose a simple 8mm fan and mounted it right above the CPU heat sink to suck air out of the chassis again. This way it creates a great airflow through the case and my temperatures are very low for a server that is constantly using quite some CPU resources, while still being almost completely silent.
ESXi and vMotion
As the internal SSD is used only for caching I installed ESXi 5.5 update 2 on a USB key. As no other storage is required to run ESXi, the USB key works fine, as long as logging can be exported to an external datastore (NFS for example).
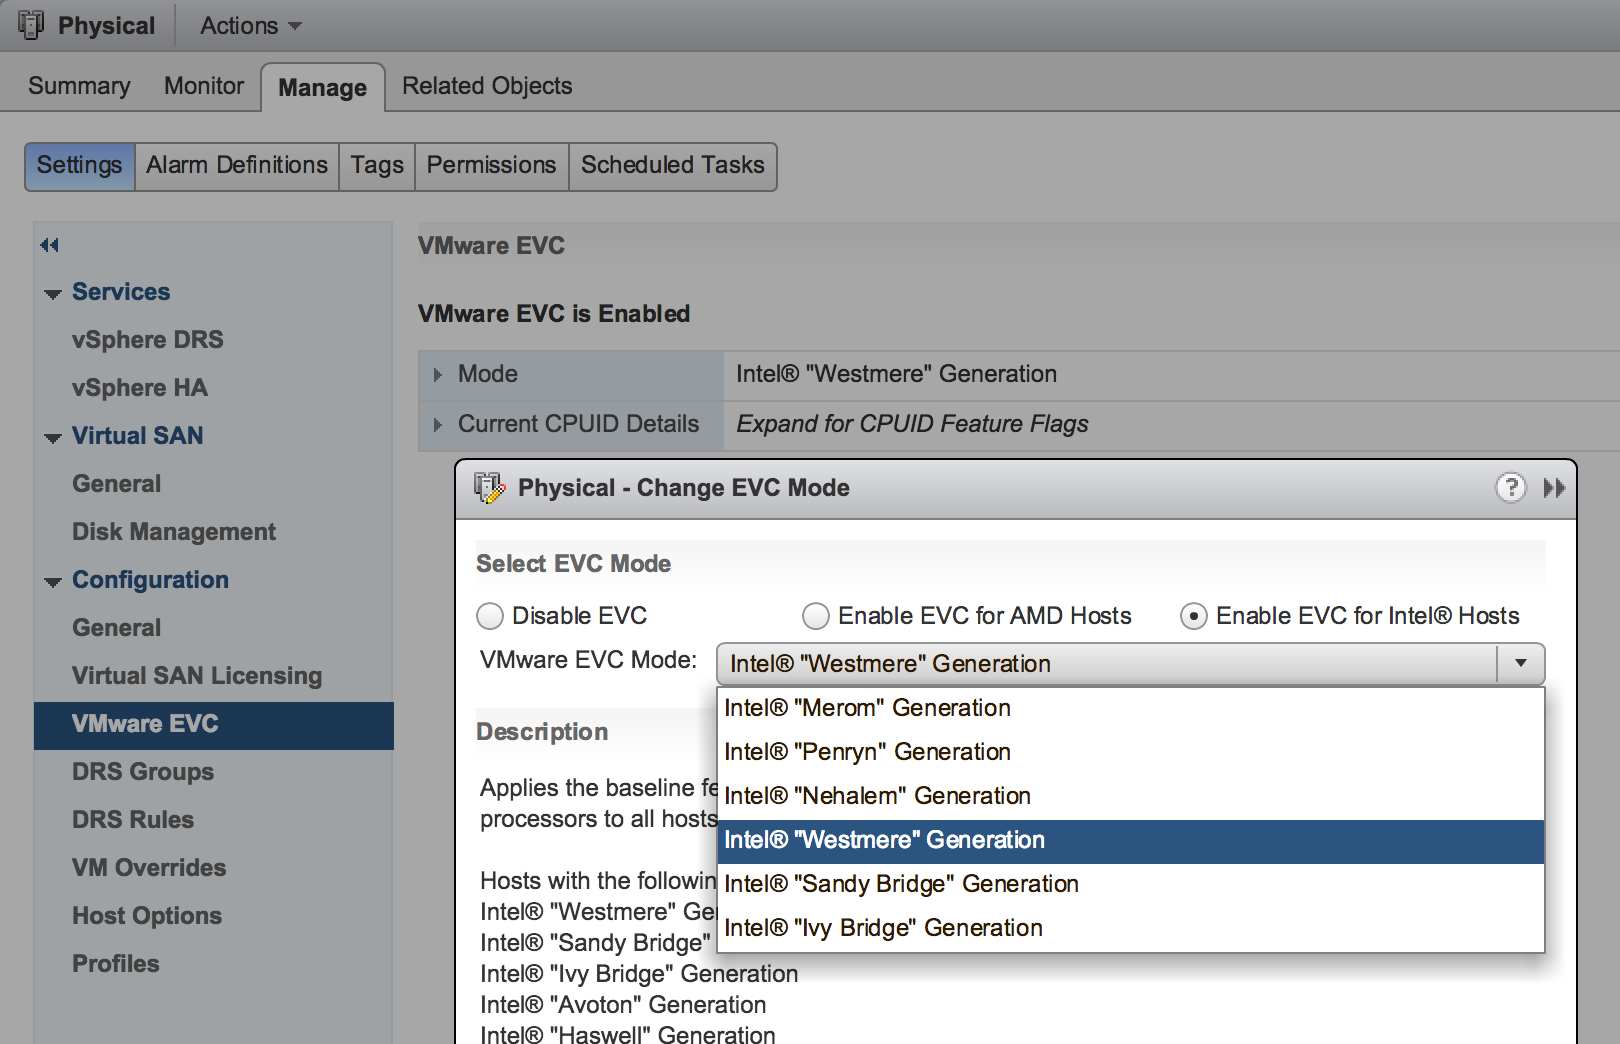
When I added the new server to the existing ESXi cluster there is of course a big gap in CPU generation and features, as the other server is a Xeon. VMware has a great feature called “EVC”. This feature makes sure that you can limit the CPU features a VM uses so that it’s compatible with all different generations of CPU’s in your cluster while still utilise Live/Hot VM Migration (vMotion). The Avoton CPU has features that are equal to the “Intel Westmere” generation of CPU’s. This means that changing the EVC setting to “Westmere” enabled live vMotion for all my VM’s in my “Physical” cluster.
Summary
As I have DRS enabled in my cluster the system automatically moves load between the different servers. When I’m working on my lab set-up now I have to say that the only way to see which CPU I’m running on is at boot-up of a VM. The Xeon processor has more power and that’s noticeable during the boot-up. After the system is running it’s very hard for me to tell which CPU it’s running on and that is exactly what I wanted to achieve. The Avoton CPU is an amazing system as a home lab when you are purely feature testing. Again this is not a performance beast and you should not run any tests that should compare to a production system. This system is meant for playing around with many different features.
Currently both of my hosts are again running at 80-85% memory utilisation, so it’s heavily used and I couldn’t be happier with it.
If you have any questions on my set-up please comment below!